
LEGO STAR WARS PHOTOGRAPHY
MILLENIUM FALCON
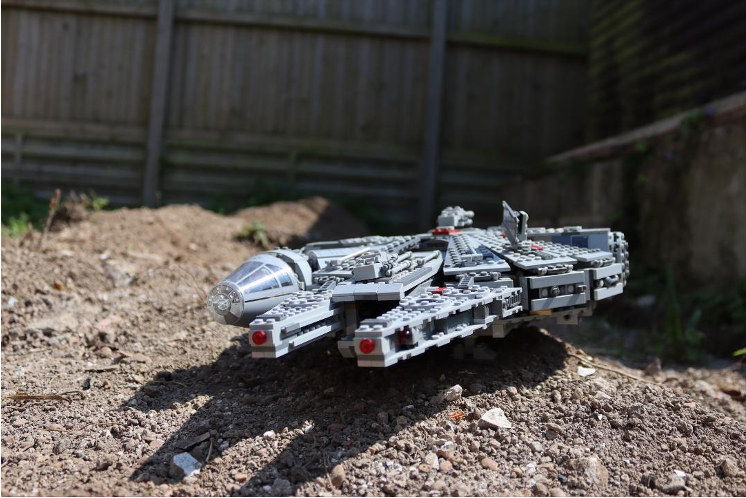
I decided to shoot outdoors to make use of the natural light and shadows which I was looking to use to add natural depth to my photographs. I used some newly excavated ground as my back drop for two very different style shoots. In the first set of photographs the earth became the surface of a planet whilst on the second it was a building site. In this shoot I was experimenting with depth of field and trying to add motion to my photographs so using a fast shutter speed to capture the action. The sunlight was quite bright so I was able to use a low ISO during the shoot which kept the pictures sharp and not grainy.
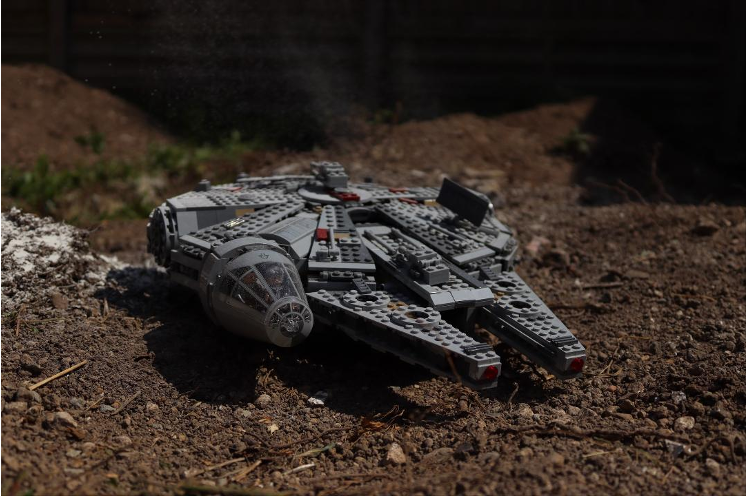
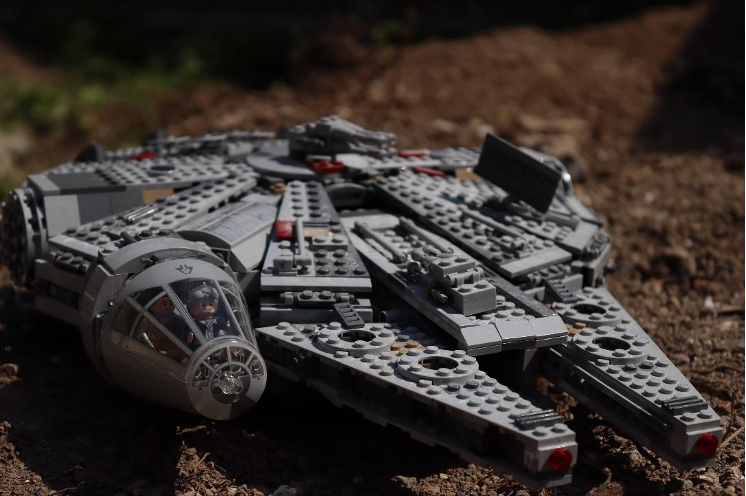
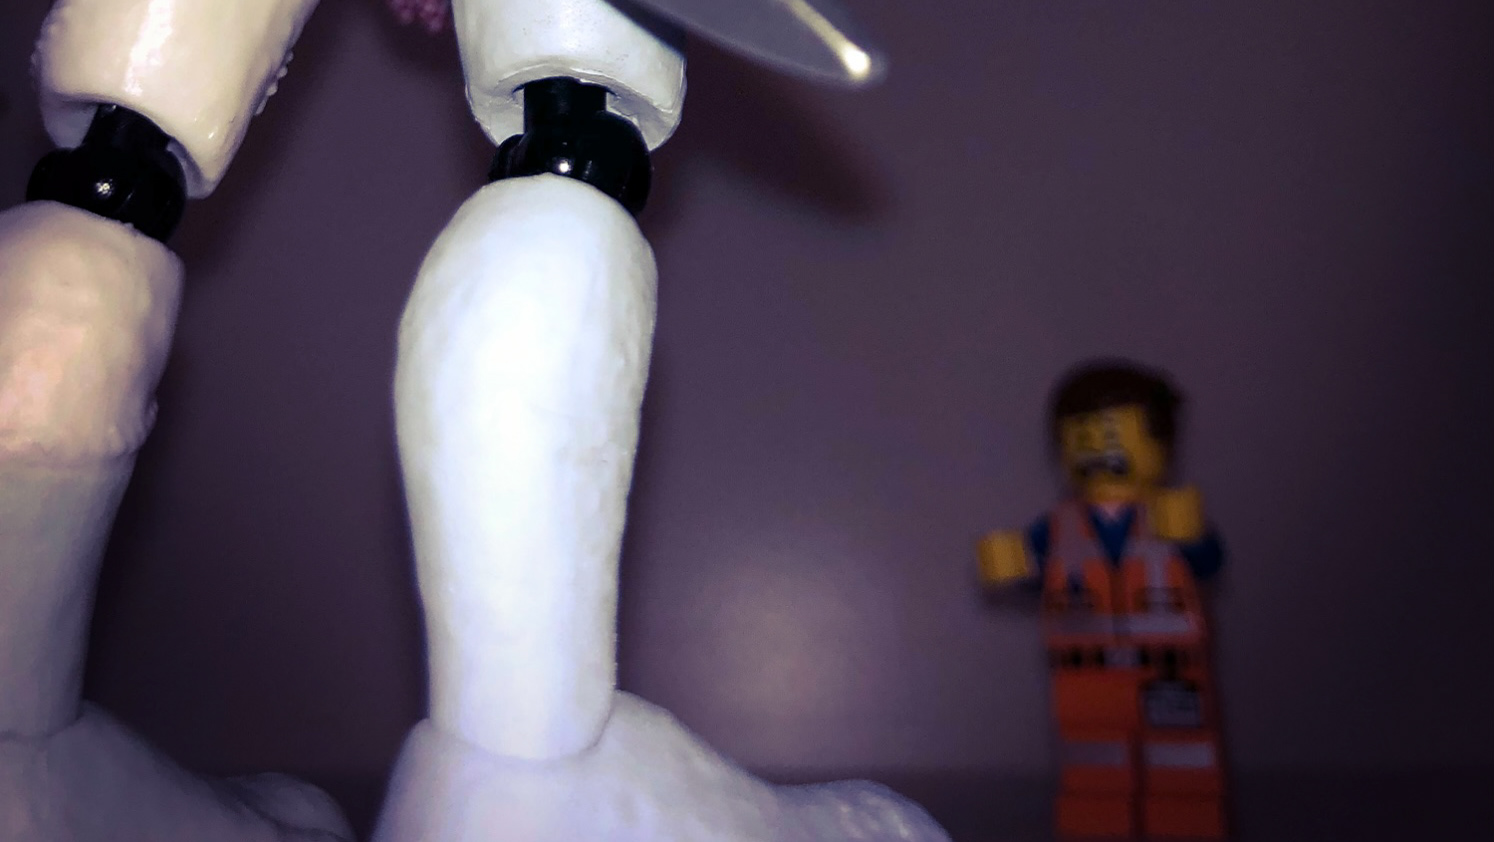
In the shoot using the model Millennium Falcon space craft I chose to lay this one on the dirt as if it had just landed on the planet’s surface. By focussing on the model the background was blurred and with the shadows it actually resembled a cliff edge in the final images. In one of the images I took looking at the spacecraft from a low angle rather than from above I really liked the slightly blurred foreground and the shadow cast by the model which did look like it has just landed. Unfortunately I could see the fence rather too clearly on this image but this may be one I could add a background to in Adobe Photoshop along with the brightly lit photograph which also has a background which doesn’t fit the image.
When shooting these images I liked the darker images as they seemed to reflect the feel I was looking for so I edited them in Adobe Lightroom by decreasing the highlights (-29) and the shadows (-88) whilst increasing the whites (+29). On the colours I increased the vibrance (+32) and the saturation (+31). I really wanted to enhance all the details of the model so I used the texture (+100) and clarity (+50) to emphasise every small detail along with switching up the detail setting to (43) and using the sharpening tool (63). I wanted to add some motion to the pictures so looked at Avanaut’s work and how he created smoke and snow effects. I chose to use some flour and a sieve to create a smoke effect to add interest to my scene. The slight breeze on the shoot helped to move the flour around a little so that it didn’t fall straight down. I used a fast shutter speed to capture the “smoke”.
Overall I was really pleased with the images I captured. I tried to ensure the image was captured as close to my vision as possible in the first instance so that it only needed to be slightly edited in Adobe Lightroom to get the final effect. The “smoke” effect I created using flour seemed to work well and added an interesting dimension of motion to my photographs.